

This is (finally) the first completed piece of Mordheim terrain. The town square is from the original Mordheim boxed set, and although it doesn't provide a lot of cover or area terrain, makes for a great centerpiece in your city streets.
This actually helped me learn a lot on the fly about basing large things. The first thing I wanted to do was do this as cheap as possible. If I were to do this with GW supplies, it would've made me go broke. Only a small amount of GW Codex Grey is used to clean up the cardstock fold lines and drybrush the tiles. The other paints used are Americana Burnt Sienna and Americana True Ochre. They're relatively cheap and the containers are probably 4-5 times the amount of paint in a GW pot for half the price of one!
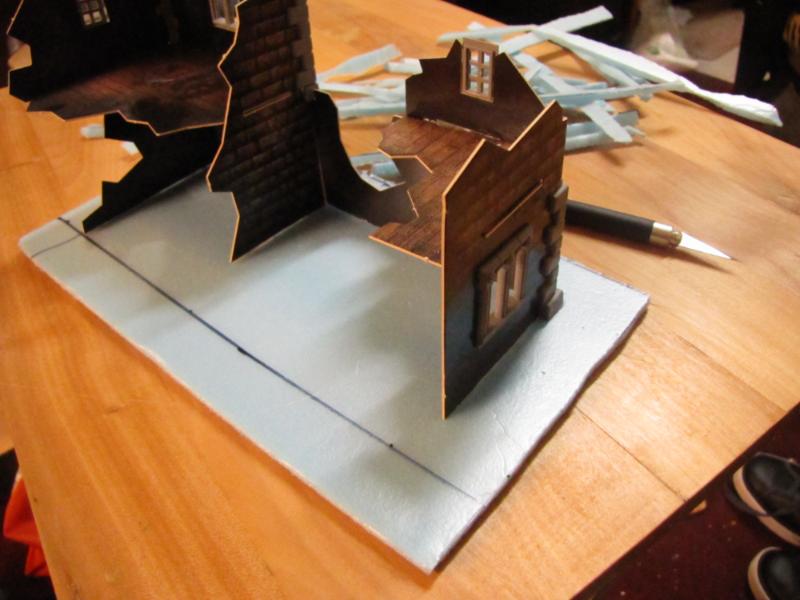
First thing I did to all of these is glue them to a blue insulation foam base. It has been cut about 1" out from the footprint of the building.

Next, I brought the bases to the edge of a small table and sliced them at an angle. This allow the base to look more natural on the board instead of looking like it is on a piece of cardboard.
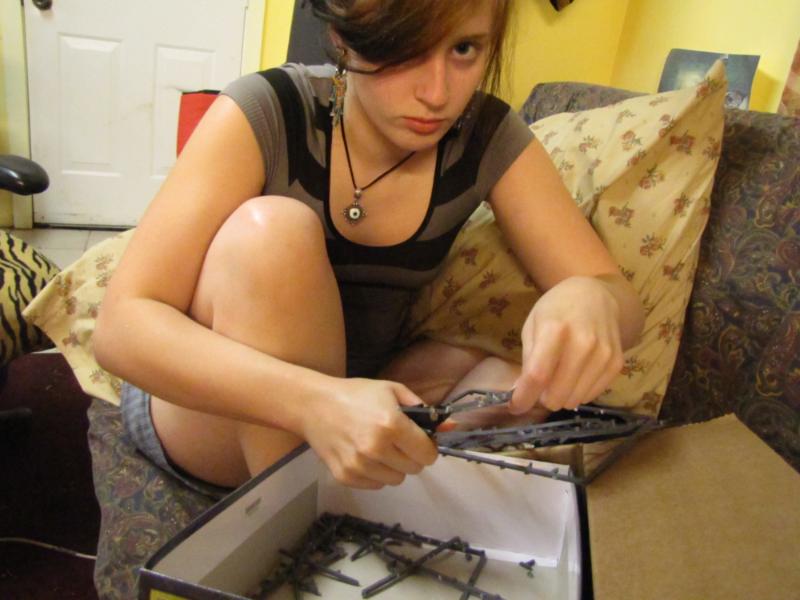
After all of the angles were done, I started working on some debris and things to put on the bases. Above is a picture of a very annoyed Zni, being forced to cut sprue for the project. You'll see more of the sprue rubble and how it has been used when I showcase the tavern (upon completion of course!)
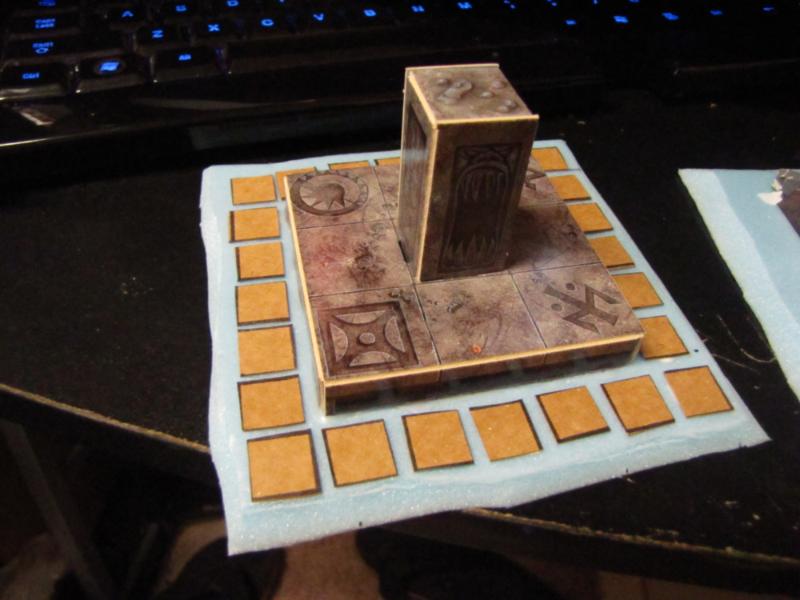
GW recommends 2cm x 2cm tiles for this kind of project but I thought they would be too big. My tiles are .5" squares. Miraculously they all fit decently together in all of the buildings. Here's a shot of the Town Square before sand. The tiles are cut a little uneven but that's OK, Mordheim is a ruined medieval-style city after all.

To get the job done fast (and to ensure a lot of coverage; I didn't want the blue showing through the sand) I really caked the paint on this one. I think it's fine though, the paint is cheap and there's not really any detail to be lost. I also want to mention that I used a bag of "coarse decorative sand" from the craft store -- it only cost $3 for 2 pounds. Certainly beats GW's or even Gale Force 9's hobby scenics prices. There is some really fine sand you can get but depending on how you glue it, it can get really gunky and gloopy looking instead of... well, sandy.

The end result is a large quick drybrush of Americana True Ochre on everything. This is then followed by a drybrush of Codex Grey on the tiles and then all of the cleanup on the cardstock joints.
Next building up is the tavern from the box set. It's proven a little bit more difficult to get sand on it due to the odd structure of the building. This has all been taking me much longer than I thought it would despite all the shortcuts I've been taking. I'm used to being able to base a miniature in 30 minutes if I really wanted to. The amount of sand and all of the extra bits I want to add really make this a time consuming project.
In other news, I got a job! I'll be starting next week. While this probably means that my content will slow down, I really do hope to try to keep up. At the very least, I'll have more money for more miniatures and bigger lists!
I also had a phone interview with Games Workshop, although they kind of caught me off guard so I'm not sure how I did. I was very nervous and they asked some pretty tough questions... tougher than any other interview I've had.
Thanks for reading, following, and commenting everyone! I hope you enjoyed this article as much as I enjoyed writing it :)
Looks great! I've dabbled in terrain making myself but always fail...
ReplyDeleteThanks Idjet, well hopefully you can try out some of this stuff yourself and get some good pieces! This one wasn't particularly difficult, just time consuming.
ReplyDelete